Activating Gorgias - Live Chat
- In Nyla, go to Apps > Search for Gorgias
- Enable the app in Nyla
- Enter the App ID

- Click on Settings in the left menu and add the definitions below (recommended):

- Save and publish the app
OBS: Provided your chat is online in the Gorgias app, the chat will be displayed in a few minutes after the publication.
The App ID can be found on Gorgias App following the instructions below:
- In the top left menu, click on Tickets > Settings
- In settings click on Chat > on the main screen click over the chat you want to activate
- Opening the chat, click on Installation on the top bar menu and then Manual Installation
- Once you have opened the manual installation accordion, click on Google Tag Manager tab
- In the item 4, you will find the Gorgias Chat App ID

Embedding Gorgias Chat Forms
Once the Gorgias is activated you can use the Gorgias Contact Form content item to embed a form from Gorgias to your site. It’s not necessary to enter the App ID in the activation process to enable the add to just add forms. The App ID is exclusively to activate the Chat.
In order to add a form from Gorgias, you should:
- Add the Gorgias Contact Form content item to your page
- Insert the relevant Form ID in the Settings fieldset
- Save and publish your page
See detailed instructions here:
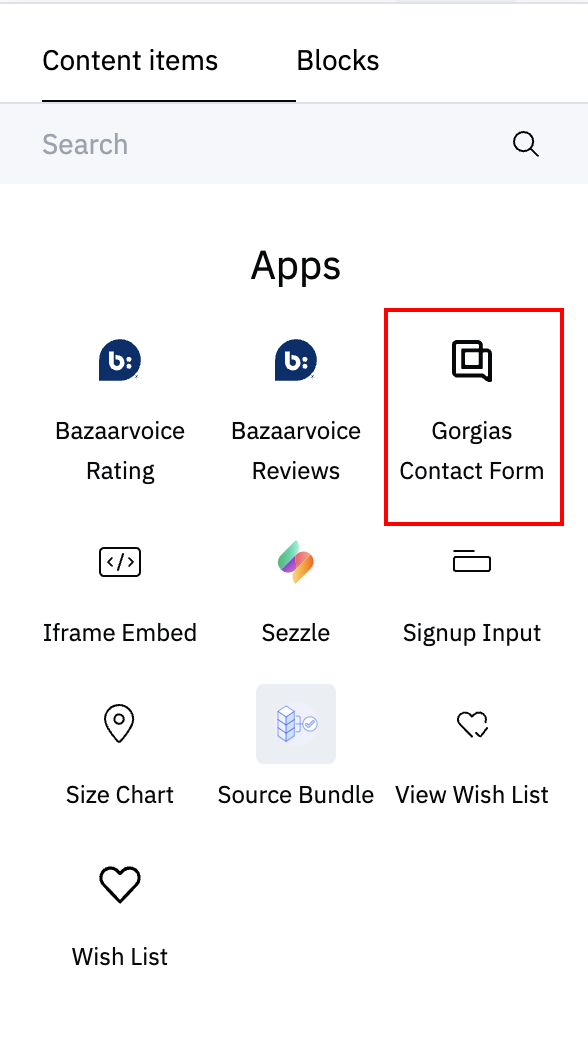
Add the Gorgias Contact Form content item to your page: The Gorgias Contact Form content item will appear in the content items menu under apps, provided your Gorgias app has been activated in Nyla.
You should add this to the page/section where you want it to appear:
Once you have added your content item is placed you should add the Gorgias Form ID on the content item settings:
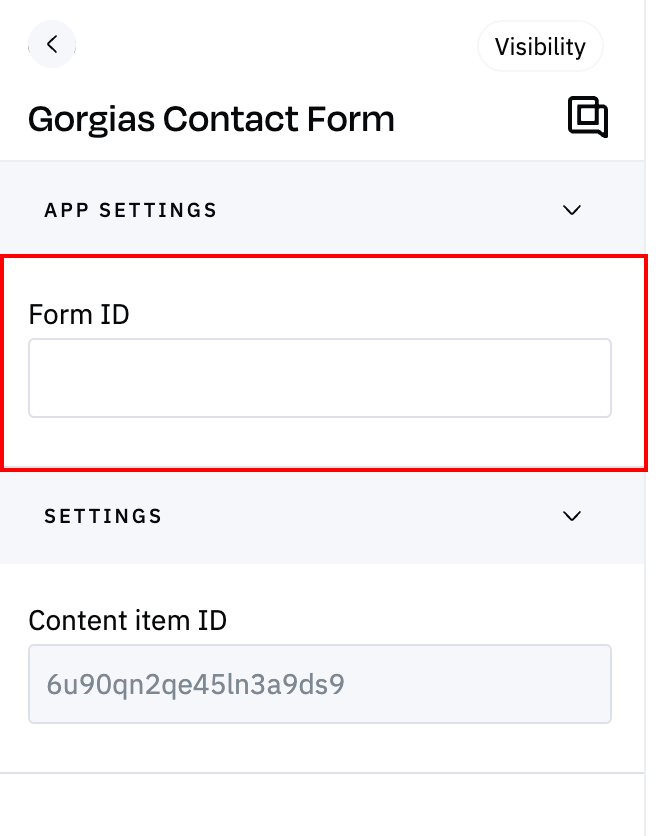
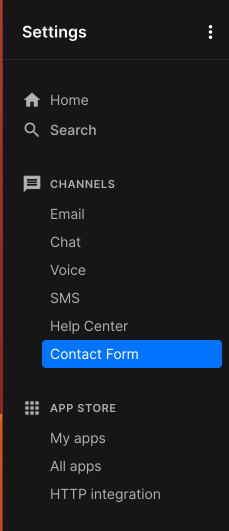
To find the form ID, go to the Gorgias app in Shopify, go to Setting >, Channels > Contact form
Once you create or select the form you want to embed, go to the Publish tab, and you will find the form id at the end of the shareable link. You should add this to the content item in Nyla.
Once you have done this, save and publish your page and your form will appear:

Nyla works with a variety of frontend apps, powering your site for everything up to checkout. Learn more about Nyla & Apps here. All third party apps are managed by the app themselves, meaning that Nyla integrations and use of these apps is limited to making them available on your Nyla site. Should you have any questions beyond our below guide about 3P app management, customization options, or general functionality, please reach out to the app directly.